Remove Objects in Lightroom – 5 Easy Steps 2024

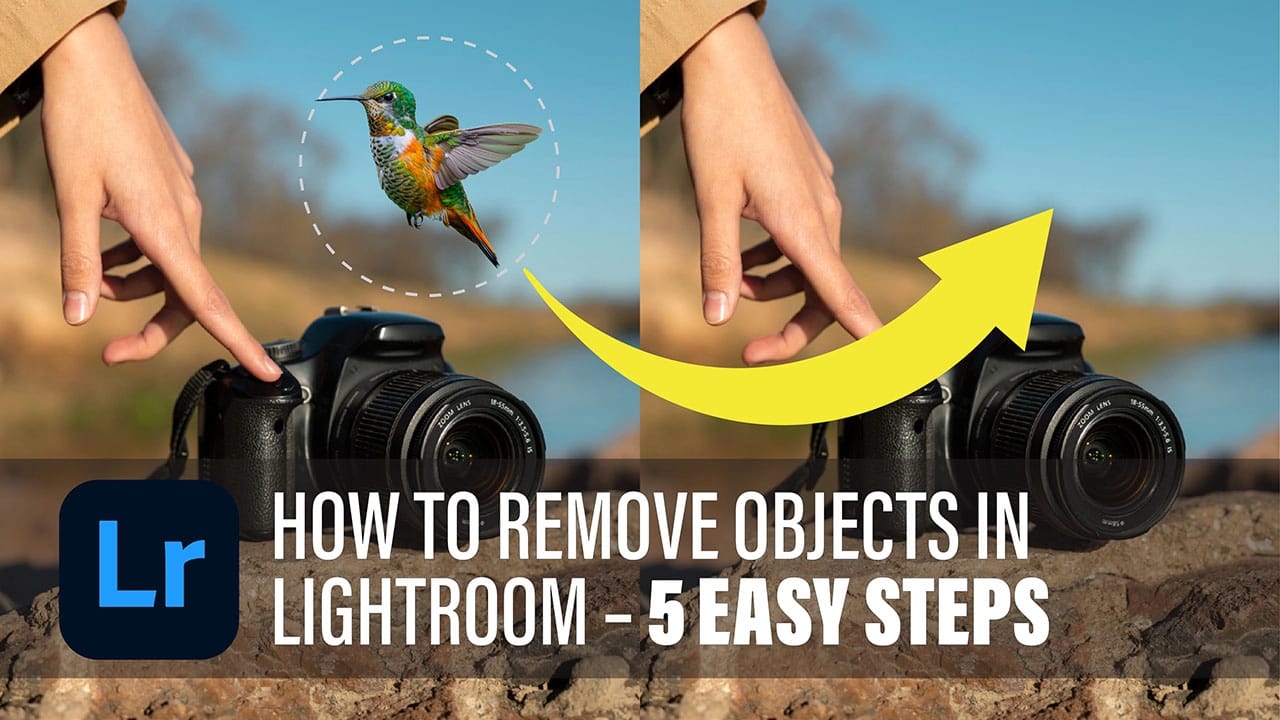
Unnecessary objects in the picture can affect even the best picture. Some people are completely unaware of how easy it is to remove unnecessary objects from a photo.
If you are a photographer, surely you use various editing software to improve your image.
But Adobe Lightroom is easier and more rewarding to use than other editing software.
Lightroom has some powerful tools that you can use to remove unwanted objects from an image and improve the image overall. This is a complete five-step guide that will teach you how to remove objects in lightroom five methods that will benefit your editing work.
You can Download Lightroom MOD APK and utilize this premium feature with out any cost.
Remove objects in Lightroom by following Steps.
Step 1: Import your photo.
Open Lightroom, at the top right of the screen you will see several module names such as Library, Web, Map, Book, Slideshow, Print, and develop module, which contains all the tools that can help you blur background in lightroom.
Click on the Library module.
Click the “Import” button in the bottom left corner. Select the image you want to edit and then click “Import” again. This will add your photo to the catalog.
Step 2: Select the development module.
Go to Progress.
Click on the “Develop” module in the top right corner of the screen. In the Develop module, you will get all the necessary tools for editing and retouching.
Choose your photo and Click on your image in the filmstrip to open the image in the main editing area۔
Use the Spot Removal Tool.
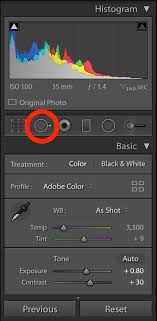
In the right panel, select Spot Removal Tool. You can also press ‘Q’ for a shortcut. It looks like a plaster icon.
Step 3: Adjust Brush Size.
Use the slider to adjust the brush size, and adjust the brush size according to the object you want to remove from the image. Remember that smaller brushes are better for detailed areas, while larger brushes are suitable for larger objects.
Start the removal process. Click on the item in the image that you want to remove. Lightroom will automatically select a source area to fill the gap. You can also adjust the source area by dragging as needed.
Step 4: Refine the edits further.
Optimize the source area:
If the alternative doesn’t look right, drag the source area to a suitable location. You can experiment with different areas.
Zoom In and Out:
You can examine your image more closely by using the zoom tool. The shortcut for this tool is “Z”. This tool helps you closely inspect the edited area. Using it will make your photo changes look natural. 3. Adjust transparency to your liking: If needed, adjust the transparency of the spot removal tool in the right panel to make the edit less visible.
Step 5: Complete the edits Check.
Compatibility:
Review the entire image and make sure that the image looks natural after the process of removing unnecessary objects from the image. If any marks remain, use the spot removal tool again.
Export your image:
When you are satisfied with the edits, go to “File” > “Export”. Choose your preferred settings for file format, quality, and destination, then click “Export” to save your edited image.
Additional tips:
Use Clone Stamp:
If the spot removal tool doesn’t give you the results you want, consider using the Clone Stamp tool in other software like Photoshop for more sophisticated results. It’s easy.
Non-fatal editing:
Remember that Lightroom editing is non-fatal. You can always go back to the original image if needed.
Practice hard: The more you use the spot removal tool to improve your photos, the more you’ll be able to master editing and give your photos a natural color.
By following these five simple steps, you can effectively remove unnecessary objects from your photos, resulting in clean and visually appealing photos. With practice, you’ll improve your illustration skills using Lightroom’s powerful tools.

Spot Removal Tool:
You can remove multiple unwanted objects in an image at once by using the spot removal tool in Lightroom. But you have to remove only one unnecessary object at a time using the spot removal tool.
6. Check and naturalize: Once you’ve removed unnecessary debt from your image, review your edit to make sure everything looks natural.
While you can’t select multiple countries at once, this method allows you to effectively remove conflicting critical parties one by one.

Things That You Should Remember:
- Tips for a natural look after removing unwanted objects:
- Use a brush size that matches the object being removed.
- Don’t forget to adjust the source area as it helps blend in with the surrounding texture.
- Zoom in to ensure accuracy in your edits.
- Select the Clone Stamp tool from the toolbar.
- Hold down (Option on Mac) and Alt-click to select the source area.
- Paint over the object you want to remove.
- You can also use keyboard shortcuts like “Q” to quickly toggle the spot removal tool.
- You can set your brush size using the bracket keys ([ and ]) for quick adjustments. .
- Adjust the Opacity slider from right to left to adjust the opacity of the Spot Removal tool:
- Lower opacity can help in subtle corrections for a more natural look.
- To handle complex backgrounds, select a source area in the image that has similar texture and color.
- Use a smaller brush size for detailed areas and zoom in for precision.
- To undo or redo changes:
- Use Ctrl + Z (Cmd + Z on Mac) to undo changes.
- Use Ctrl + Shift + Z (Cmd + Shift + Z on Mac) to redo changes.
conclusion
In conclusion, removing unwanted objects from your photos in Lightroom is a simple yet powerful process that can significantly enhance the quality of your images. By following these five easy steps importing your photo, selecting the Develop module, using the Spot Removal tool, refining your edits, and exporting the final image you can achieve clean, professional-looking results. With practice and attention to detail, Lightroom’s intuitive tools will help you create natural and visually appealing photos without the distraction of unnecessary elements. Keep experimenting, and watch your photo-editing skills improve over time!

