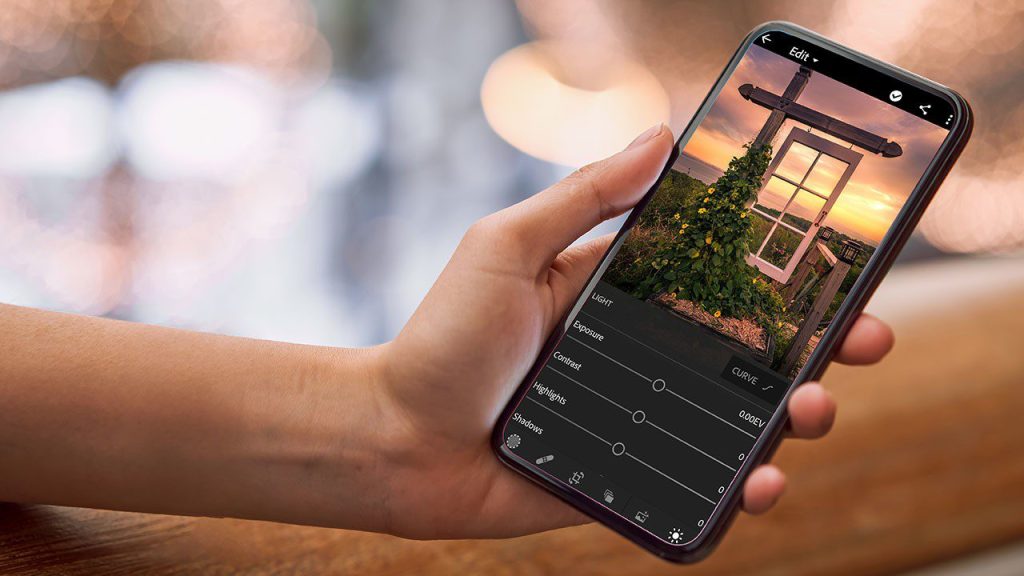
Lightroom Hidden Features in 2024
Lightroom is a feature-rich editing software developed by Adobe. This software is very popular among photographers around the world because of its convenient tools. It has many useful tools like image enhancement, color correction, cropping, noise reduction etc. This software allows users to make adjustments to images without changing the original image data. Today we are going to talk about Lightroom hidden features that many people are not aware of. When you Download Lightroom, You will find that this software saves your time and enhance your editing skills.

Selective brush tool:
The Selective Brush tool allows you to make adjustments to specific areas of your image.
How it works.
- Open the photo you want to edit.
- Tap the Selective Brush icon located in the toolbar,
- Adjust the size of the brush according to your desire.
- Tap on adjustment panel. Choose the adjustment settings that you want to apply to your image.
- You can adjust these settings before or after you start brushing.
- Brush the areas of the image using your fingers. You can increase and decrease the size of the brush.
- Drag your finger across the screen to brush over the desired areas.
Linear and Radial Gradients:
Gradient adjustments allow you to create smooth transitions between different areas of your image
How it works.
- Tap on the edit icon.
- Select the “selective” tool within the selective tool you can see the options for Linear and Radial gradients.
- Drag your finger across the screen to define the direction and length of the linear gradient.
- Drag your finger across the screen to define the direction and length of the linear gradient.
- Adjust the size of the radial gradient by dragging with two fingers,
- After setting the gradient, adjust exposure, contrast, highlights, shadows
- Adjust these sliders to get the desired effect in the gradient area.
- Drag the adjustment handles to fine-tune the gradient.
Geometry Corrections One Of The Lightroom Hidden features:
- The geometry tool is located in the toolbar at the bottom of the screen. (Location may change in old version)
- You have three options here Auto, Guided and Manual Clicking on Auto will automatically change your image Guided allows you to edit the image from the correct perspective and points out areas in the image that need improvement. The manual gives you control over editing individual aspects of the image.
- Select your desired option from these three options and apply it to the image. Remember that the auto option is fast and saves time, but it doesn’t always produce good results.
- If you want to improve the image further, look for options like vertical, horizontal and distortion to adjust these parameters individually.
- Preview the changes you’ve made to the image before confirming. If the image is feeling unnatural then fix it otherwise save the image.
Healing Brush:
- Open the photo you want to edit.
- Select the Healing Brush, which is located in the toolbar. Its icon is a strip or brush with a stain.
- Adjust the size of the brush using two fingers on the screen.
- Now select the area of the image from which you want to remove the unwanted element. Lightroom will sample the surrounding pixels to seamlessly fix the selected area.
- You can also adjust the Opacity and Feather sliders to fine-tune the healing effect.
Split toning technique:
In Lightroom Mobile, you can add different tones to the highlights and shadows of a photo using the split toning technique. It can produce a variety of effects,
Accessing Split Toning:
Lightroom Mobile has a color option within the editing panel, opening this tab will give you the split toning option.
Highlights and Shadows:
Adjust the colours of highlights and shadows with split toning in a separate image. By moving the slider right or left you can get the desired result.
Custom Presets:
- Import a photo from your library that you want to edit.
- Tap the preset icon at the bottom of the screen.
- You can view the presets panel and presets as well as the list of created presets.
- Tap on the “+” icon if you want to create a new preset.
- Name your preset according to the adjustments and settings that you have made.
- Lightroom allows you to add custom settings to presets. These settings include adjustments like exposure, contrast, and tone and you can select any of these settings for your preset.
- Once you’ve selected the settings you want to include, tap on the “Save” or “Done” button to save your custom preset.
- tap on the “Save” or “Done” button to save your custom preset.
Advanced Export Options:
- Select the image you want to export from the library by tabbing it
- Edit the image as you want it to appear in the exported version
- After editing, tap on the share icon.
- Select “Export” or “Save to Device” to start the export process.
- Lightroom has three file format options for exporting images, including JPEG, TIFF, or PNG format. Choose the format as per your requirement
- If you want, you can adjust the image quality and size with the help of sliders.
- If you want, you can select colour or space for the exported image using sRGB, Adobe RGB, and ProPhoto RGB.
- Tap the “Export” or “Save” button to start the export process.
If talked about. Lightroom vs Photoshop or Lightroom vs Snapseed, you will be happy to know that Lightroom is many levels ahead of other software due to its user friendly interface, its tools and hidden features.

