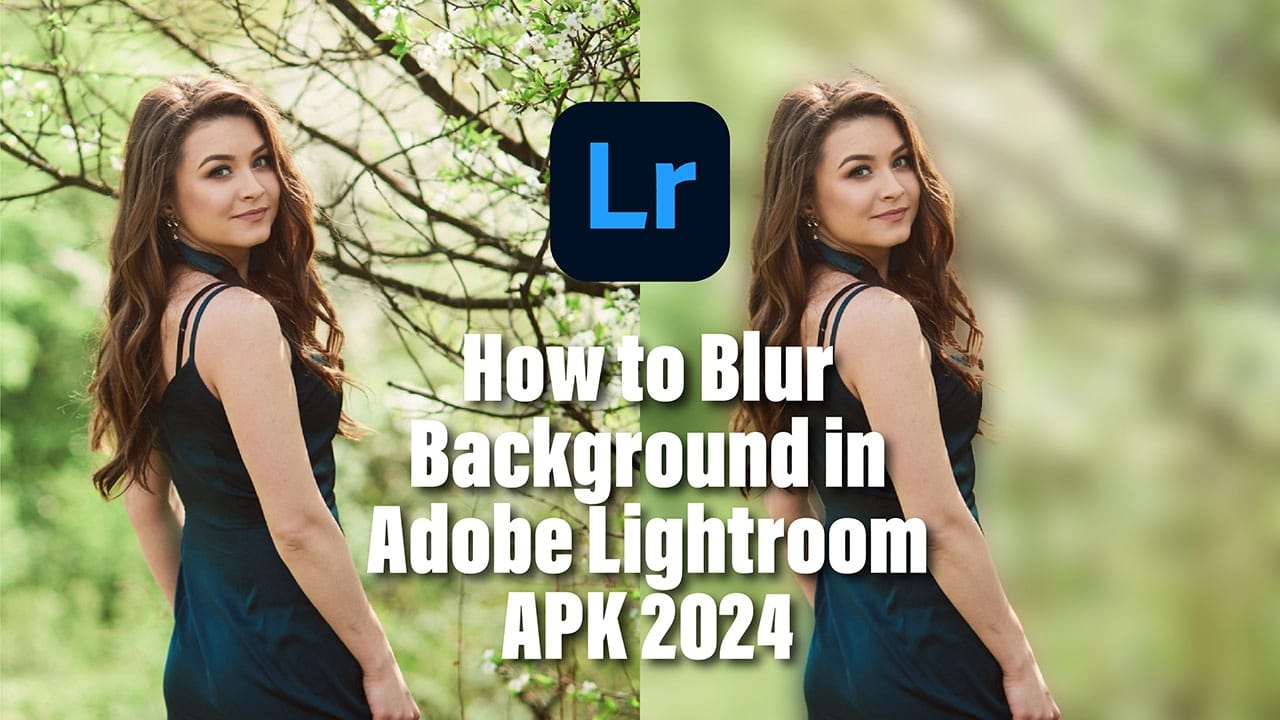
How to Blur Background in Adobe Lightroom in 2024?
Why do we blur the background in an image?
- This helps to draw the viewer’s attention to the main subject.
- It create Aesthetic Appeal in image.
- Blurring the background helps to create a sense of depth in a two-dimensional image.
- In busy environments, blurring the background can help minimize distractions.
- Blurred backgrounds often give photos a more professional and polished look.
- By blurring the background, the subject of the image stands out more clearly.
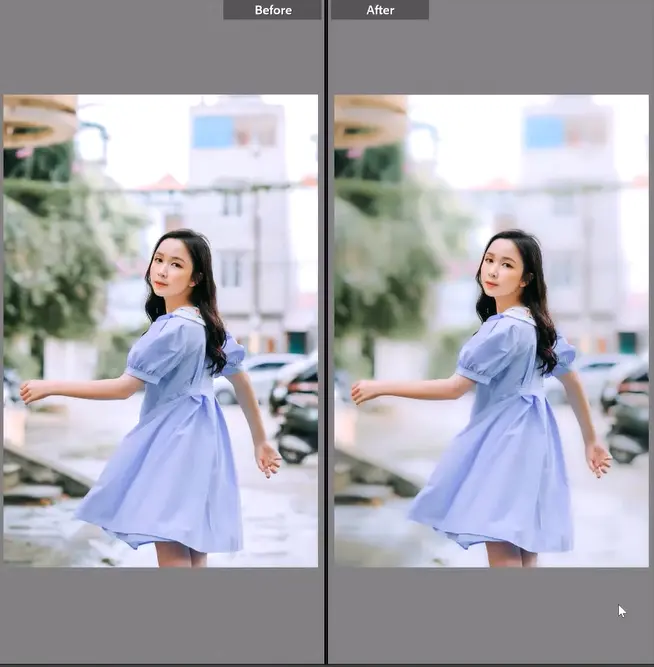
In this article we will tell you simple steps that will help you achieve a blurred effect in specific areas of your photos In both Lightroom Mobile and Lightroom Classic .

There are several ways to blur background in Adobe Lightroom. In this article we are going to tell you about some easy methods. By learning these, you can easily blur the background of a photo.
Adjustment brush (Blur background in adobe lightroom)
The adjustment brush in Lightroom is used to blur certain parts of an image. You can learn this process by following the given steps.
Open the photo you want to blur in the Lightroom.
Select the Adjustment Brush tool by clicking on the toolbar with Basic Tab at the top of the screen. (You can press the “K” key for shortcut)
Click the Adjustment Brush panel on the right side of the screen.
Adjust brush settings such as brush size, feathering, flow and density.
Adjust the brush size.
Now click the brush on the areas in the background that you want to blur.
Drag the brush over those areas.
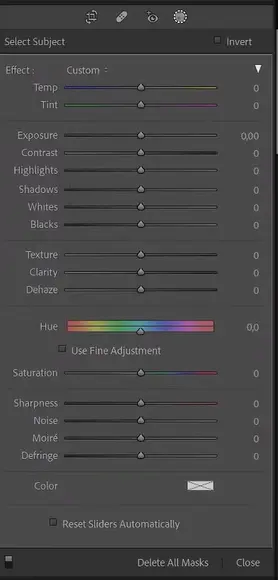
In the Adjustment Brush panel, there are Clarity and Sharpness sliders.
If you move the slider to the left, the image will blur the background. You can create blur in the image according to your needs.
Note: You can further adjust the Clarity and Sharpness sliders to further enhance the blur effect, as well as fine-tune the blur effect by modifying the exposure or contrast settings.

Gradient Filter:
Click on the Develop module at the top right of the screen.
Select the Gradient Filter tool in the Develop module. (You can press the shortcut key “M” to enable it.)
Click and drag the tool on the image to blur the image. This will create a gradient overlay on your image.
In the Gradient Filter panel, you’ll see sliders for Exposure, Contrast, and Darkness.
Dragging these sliders to the left will fade the area under the gradient.
To refine the gradient, you can refine the shape and size of the gradient by clicking and dragging control points on the gradient overlay.
Radial Filter:
Import the image you want to edit into Lightroom.
Open the Develop module and select Radial Filter from the toolbar.
(You can press Shift+M on your keyboard for a shortcut).
Create a circle with one click and drag over the part of the image you want to blur.
Adjust the size and shape as needed by dragging the handles.
(Optional) You can invert the mask by checking the “Invert Mask” box at the bottom of the Radial Filter panel.
In the Radial Filter panel, you can blur the background in the area outside the circle by dragging the Sharpness slider to the left.
You can also adjust the settings of exposure, contrast, and clarity to fine-tune
Lens Correction:
Import the image you want to work on.
Click on the Develop module at the top right of the screen.
Click the Lens icon on the fourth tab on the left and select Lens Correction.
Enable lens profile correction.
(Lightroom usually detects the lens used and automatically applies the correction.)
If you find that Lightroom isn’t automatically correcting all aspects of lens distortion, adjust the manual controls.
Click the Lens Correction panel.
Adjust this using the sliders under the Manual tab.
Go to the Effects panel on the right.
(This is the fifth tab from the left)
Open the “Post-Crop Vignetting” section.
Find the “Amount” slider.
Slide it to the left to increase the blur effect.
(Optional) You can further refine the masking if you want. Clicking on “Post Crop Vignetting” will show you the “Midpoint” and “Ground Pin” sliders that you can adjust to refine the part of the image you want to blur.
If you feel the need, you can further improve the image by using various settings. If you are satisfied, click “Export” to save your edited image.

How to blur the background in Lightroom Mobile?
There are many tools available in Lightroom Mobile for create blur effect on image. Here are the steps to achieve this:
First open Lightroom app on your mobile.
Select the image whose background you want to blur.
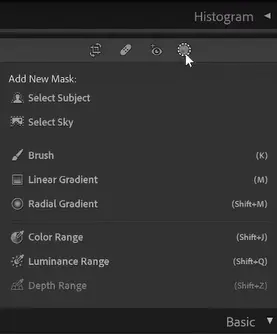
Tap on the Selective Edit icon located on the bottom in menu bar (it looks like a circle with a dotted line around it).
You can tab the ‘+’ icon to create a new selection edit.
Select the Brush tool. You can also use the Radial Gradient or Linear Gradient tools to blur the image.
Click on the Effects after you select an area of the image to create a blur effect.
Lower the Clarity slider to introduce a blur effect.
You can also adjust the sharp slider to further blur the area.
Continue adjusting the Clarity and Sharpness sliders until then. until you get the desired blur effect in the image.
Once you are satisfied with the blur effect, tap the check mark (✔️) to apply the changes.
Conclusion:
Blurring specific parts of an image in Lightroom is a powerful technique that enhances creative control and artistic expression. By utilizing tools such as the Adjustment Brush, Gradient Filter, Radial Filter, and Lens Correction, you can achieve various blur effects tailored to your needs. Each tool offers unique capabilities, from precise brushstrokes to smooth gradient overlays, enabling you to highlight or de-emphasize elements within your photos effectively. With practice, these methods will allow you to create visually compelling images that draw attention to your intended focal points. Whether you’re looking to subtly soften a background or dramatically blur certain areas, Lightroom Mobile provides the flexibility and functionality to achieve your desired results.

